After you have downloaded and installed fldigi, follow this how to for configuring fldigi for windows.
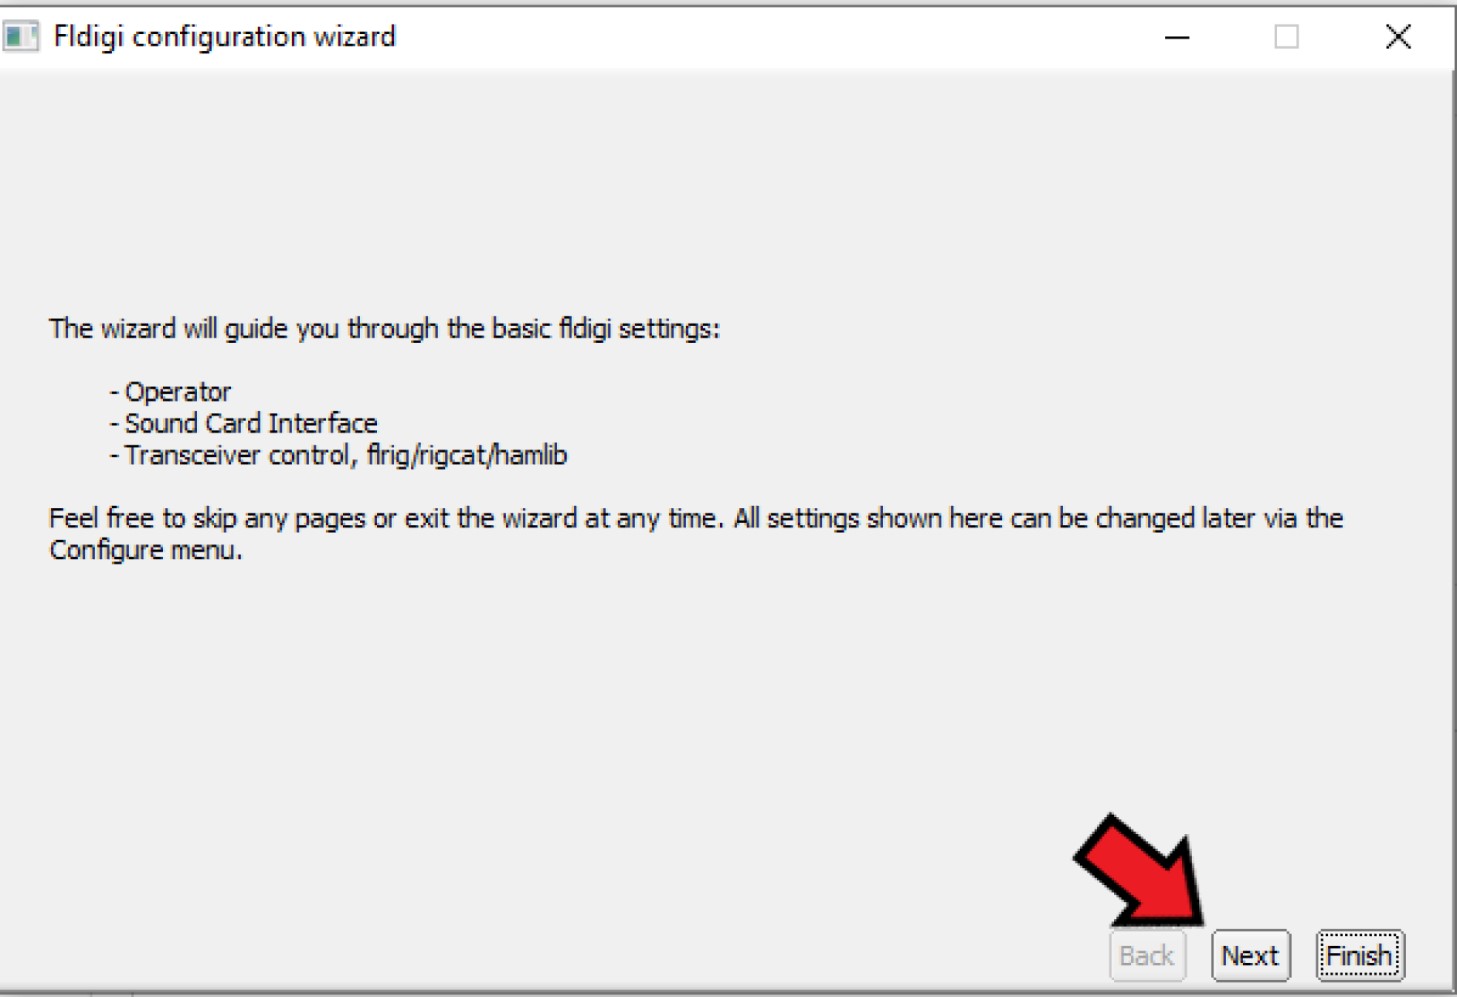
First, click on the fldigi shortcut that should have been placed on your desktop after installation. Once you Open fldigi you will be presented with the fldigi configuration wizard. Follow the steps and fill in the needed information. At the first prompt, select next.
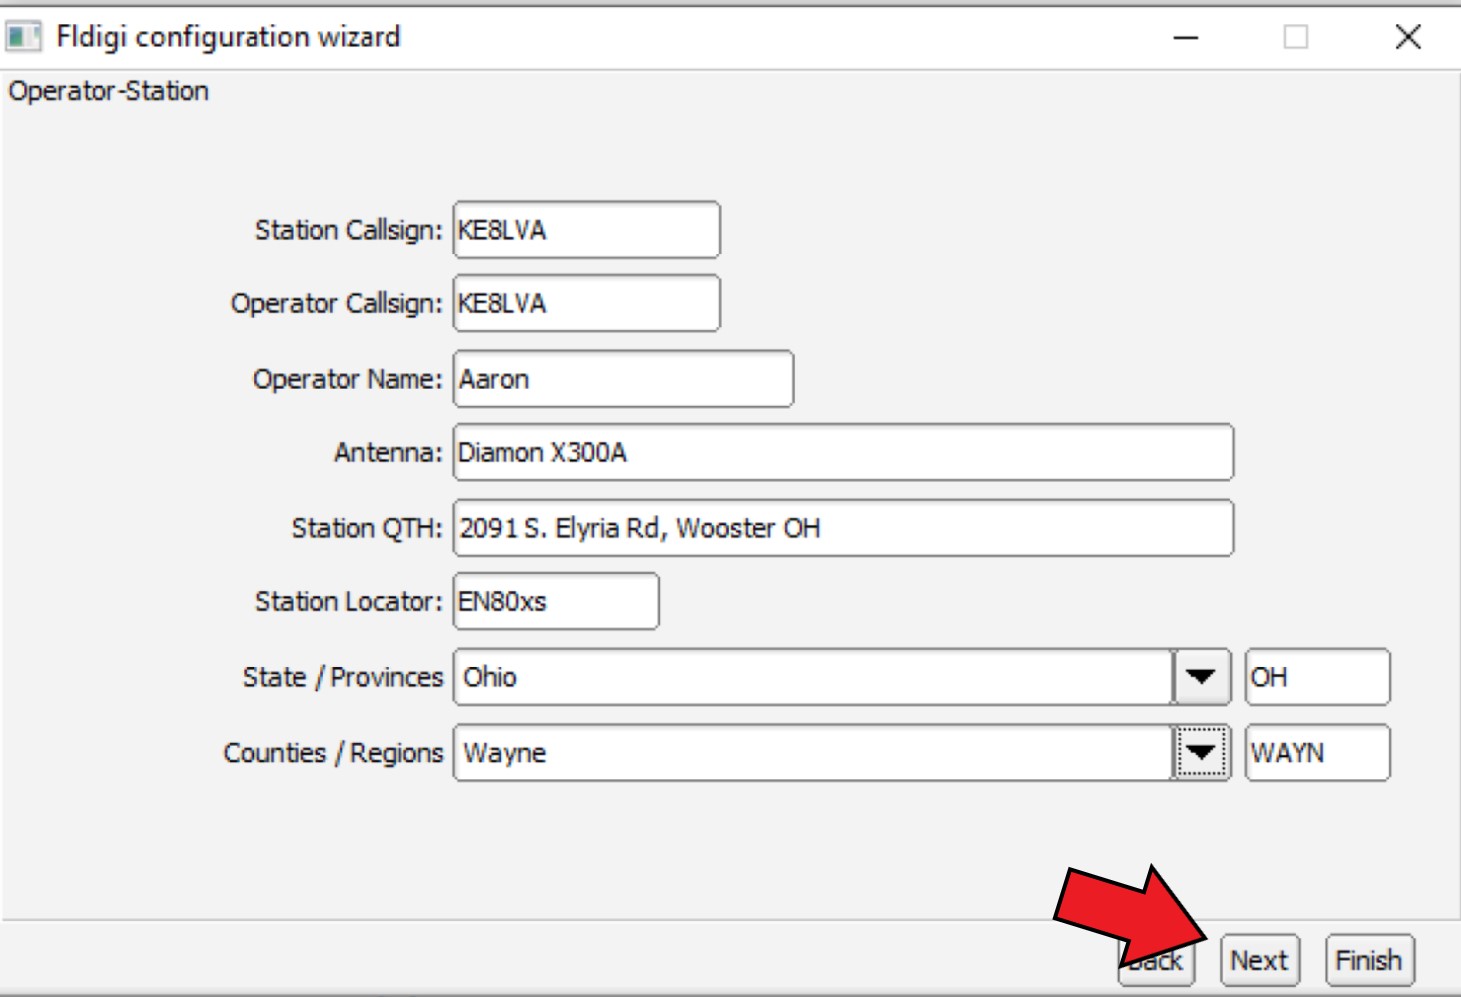
Next you will be asked to fill in all of your station information. Do so then select next. Changes can be made to this later if you ever need to change any of your information.
For this tutorial we will be using the acoustic coupling method. In the next dialog box you will need to select PortAudio then select which devices you will be using for your microphone and speakers. What this says will be different for almost everybody so you will have to figure this one out on your own. The capture dropdown will be your microphone and the playback would be your speakers. After filling these in select next.

The next few dialog boxes will be for rig control. Because we are using acoustic coupling, we do not have to worry about any of this. Keep clicking next until you reach the final screen then click Finish. If you are hooking your transceiver to your computer you would need to set this up for rig control but every radio is different and outside the scope of this tutorial.
NBEMS Interface
Next we will need to tell Fldigi where Flmsg is so they will work together. If you haven’t already installed Flmsg you will need to do that now. You can find the instructions HERE.
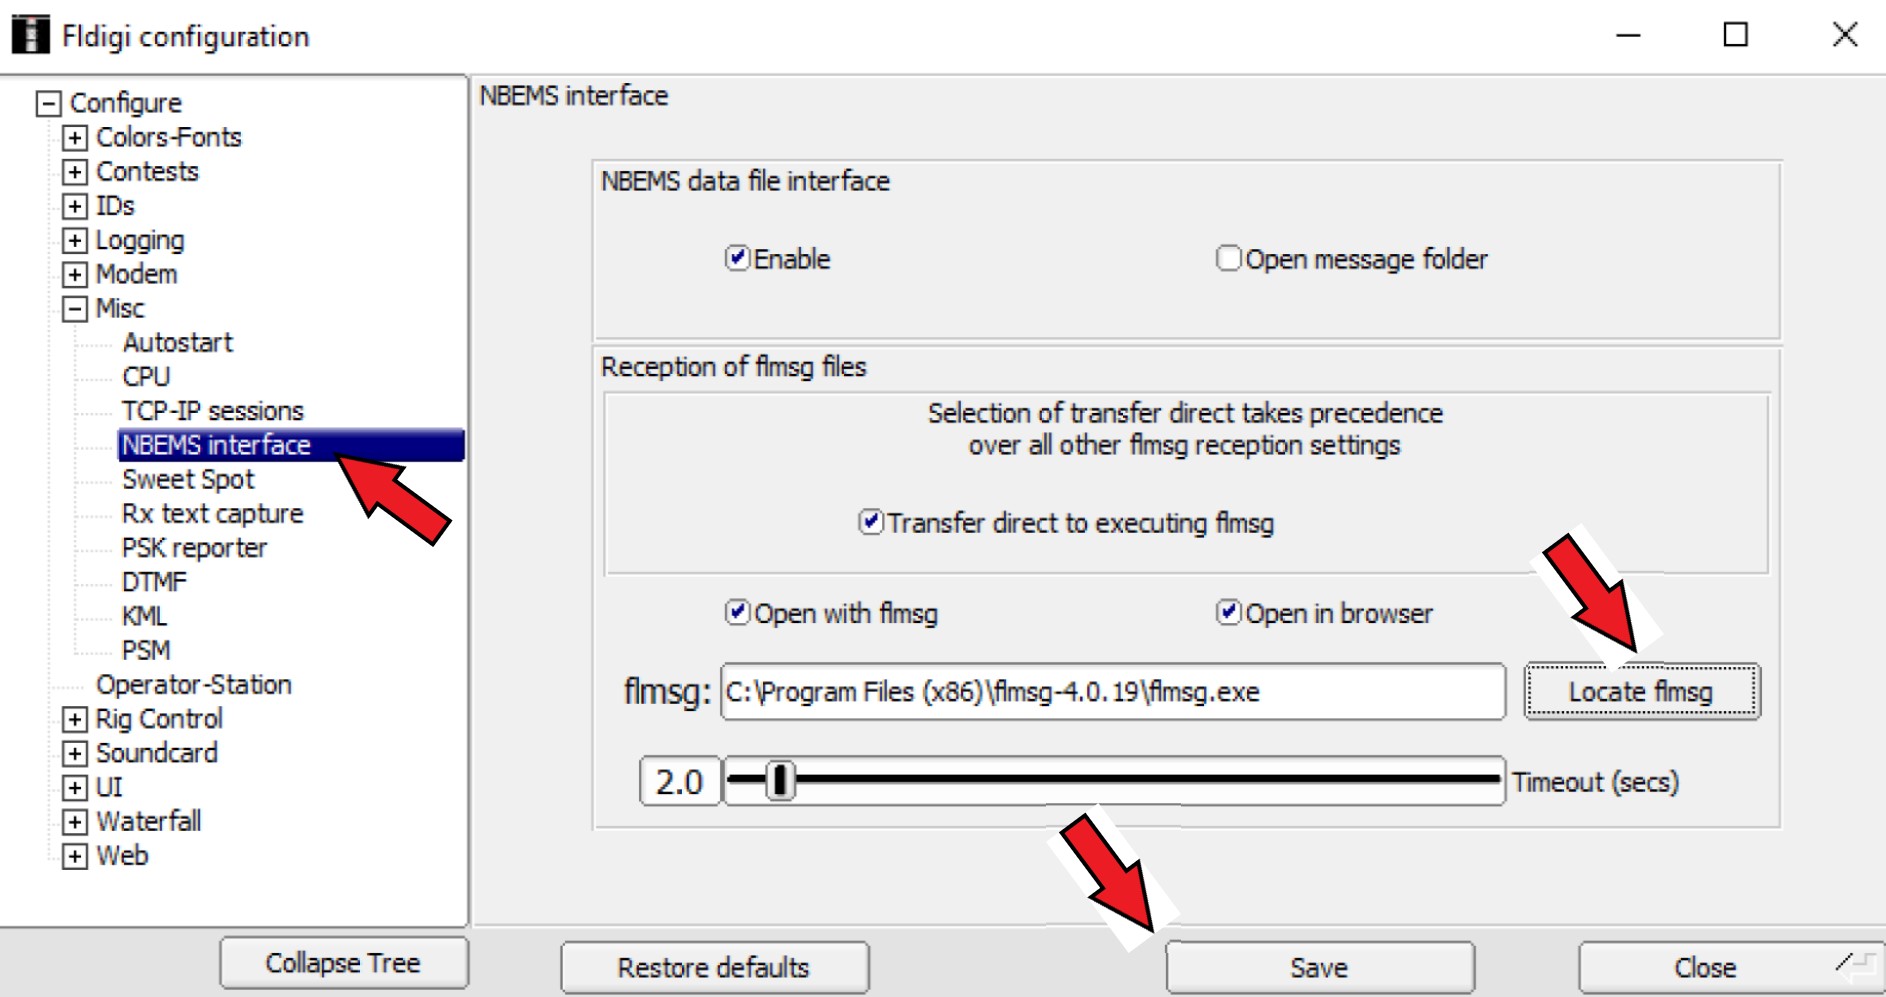
Once Flmsg is installed, from the top bar click configure then config dialog. In the window that pops up, select Misc on the left, then under that click NBEMS interface. Here you will need to click the locate Flmsg button.
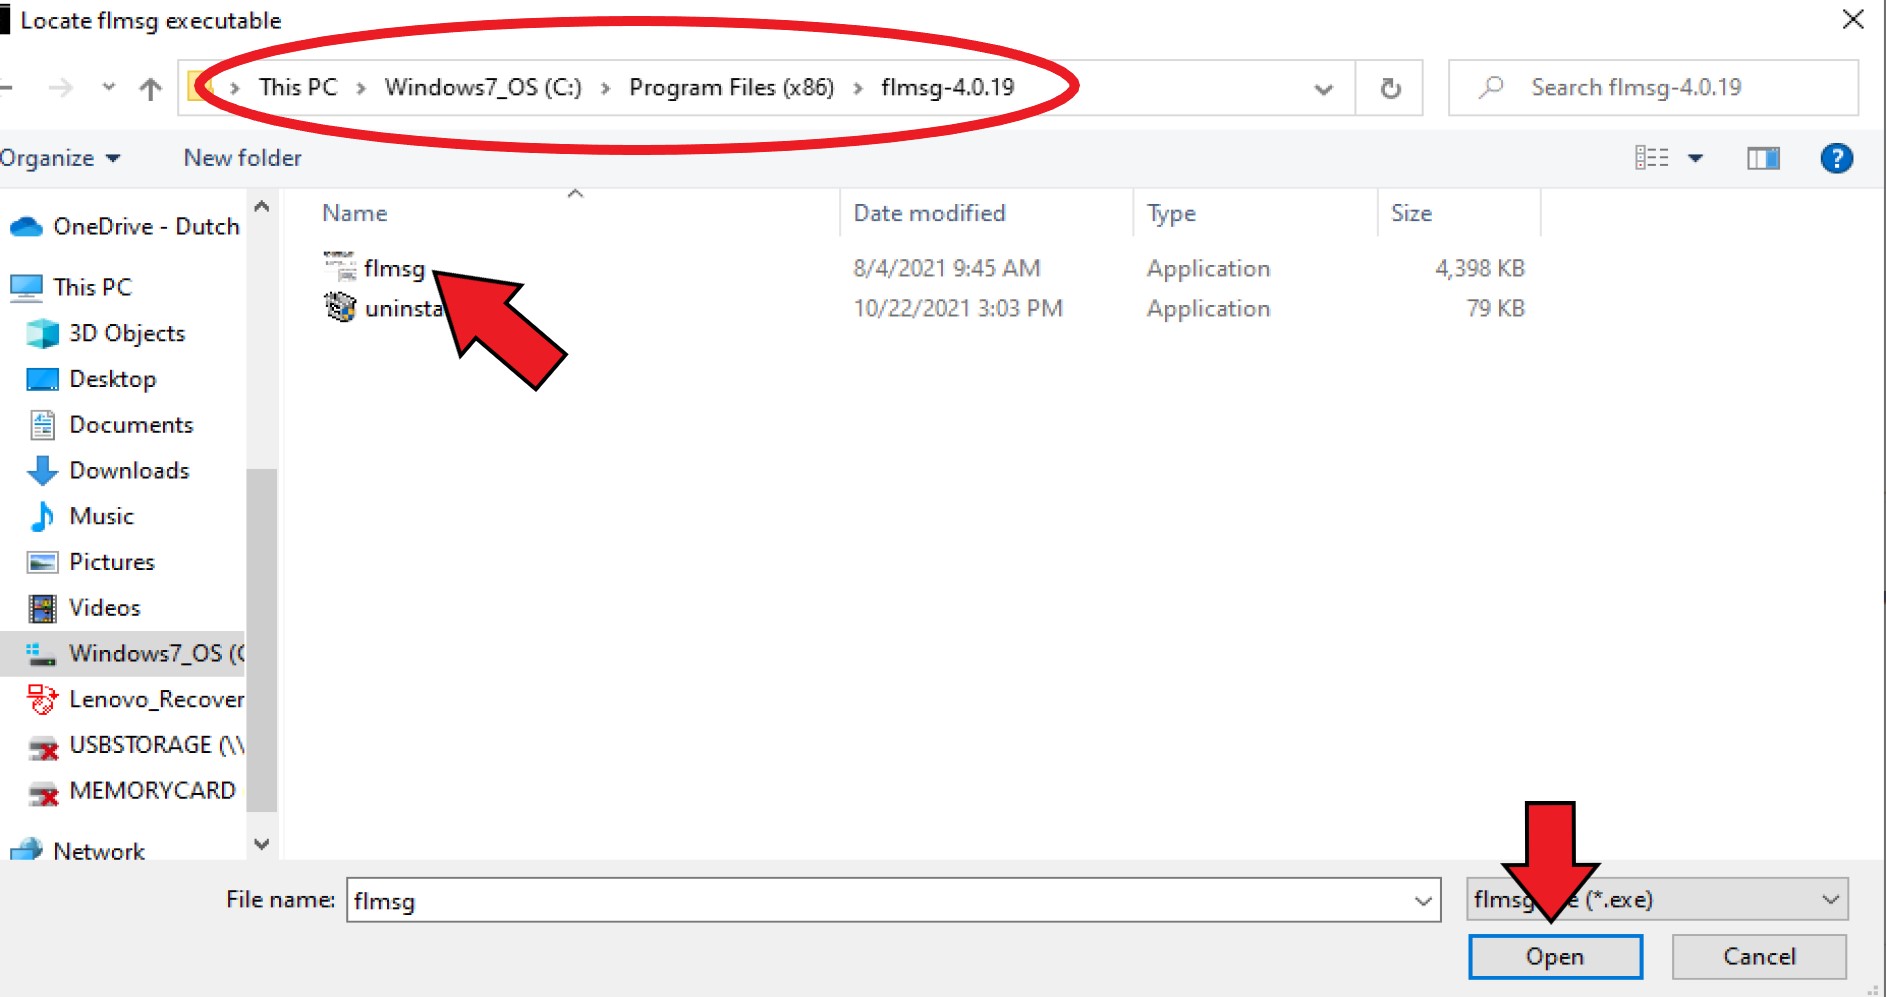
From there, navigate to where you downloaded Flmsg to. It is likely either in program files or program files (x86). In program files you will find the flmsg directory, it will be named flmsg-4.0.19 or whatever the current version is. Go into the flmsg-4.0.19 file then select Flmsg. Once selected click open. Once done, be sure to click save then close.
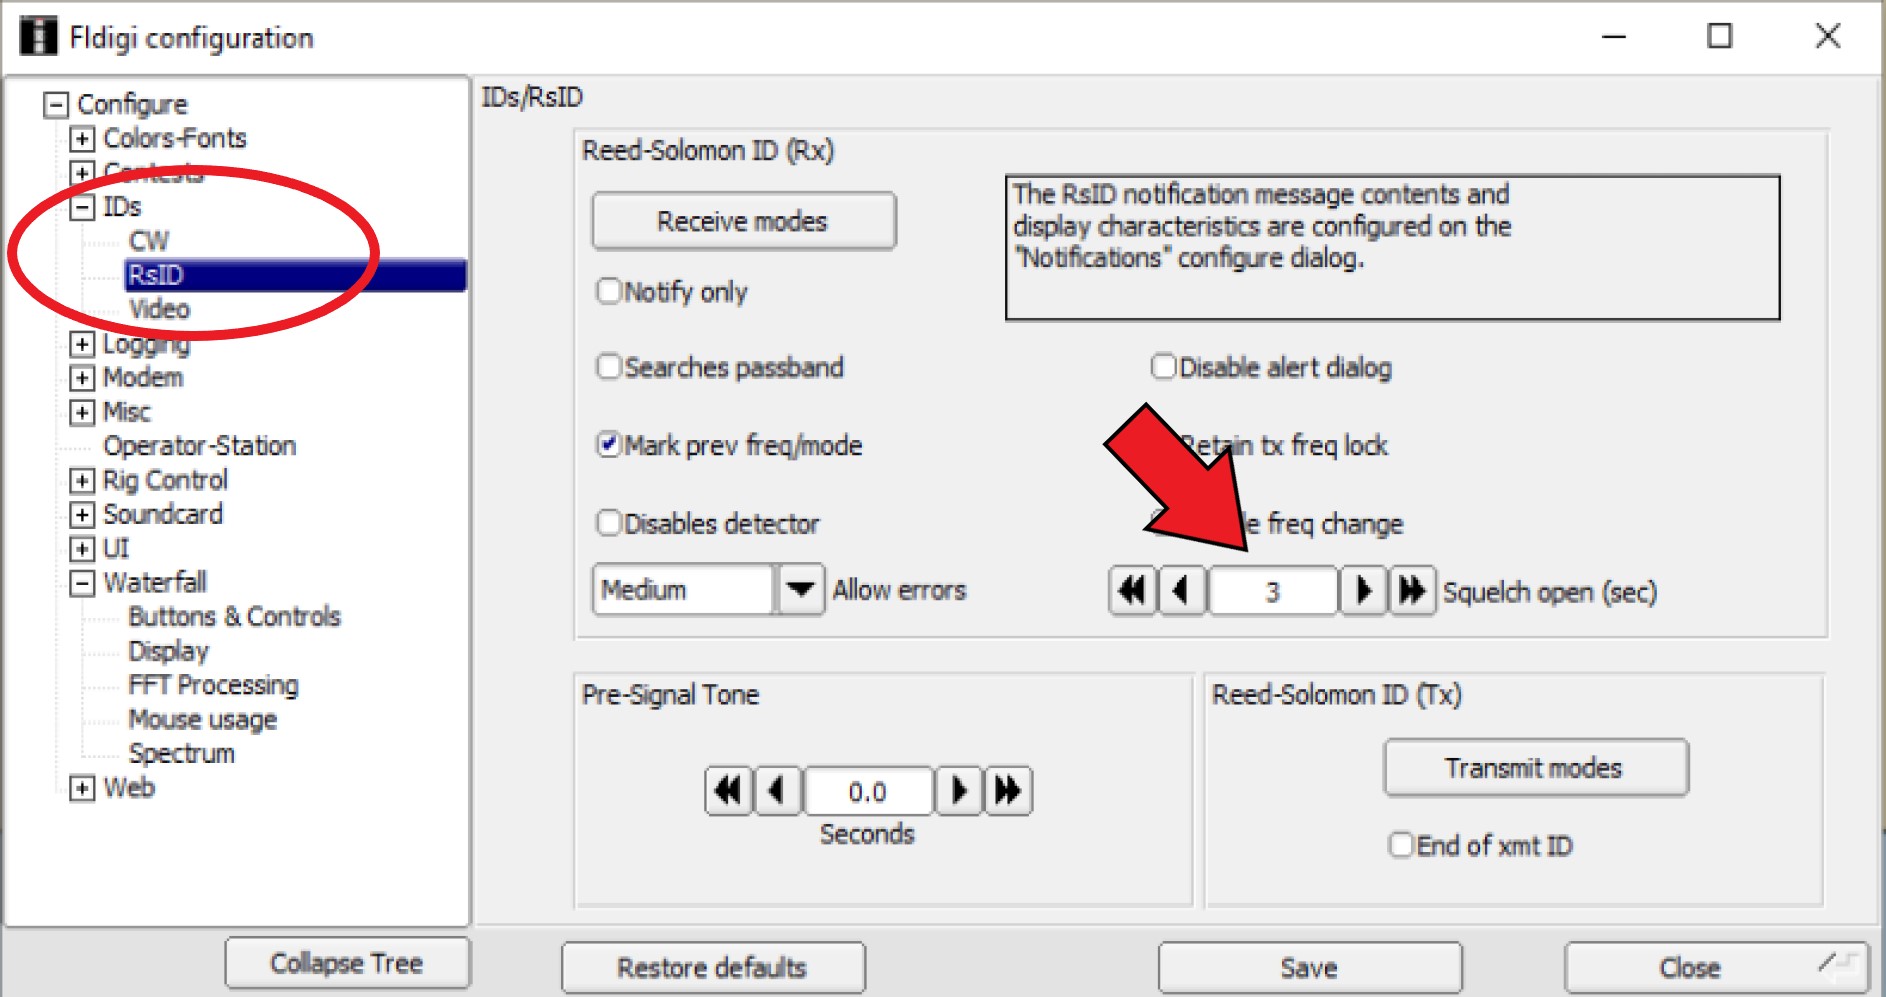
RsID squelch open time
If you are getting random characters between the RsID and message while receiving a message, decrease the RsID squelch open time. I have found that a setting of 3 seconds works well for what we use it for.
From Fldigi, on the top bar click Configure the config dialog. In the window that opens expand Ids then select RsID. Towards the middle of the window decrease the time until the random characters stop appearing. This is different from random characters appearing all of the time in the screen. That will be addressed on the transmitting and receiving page.
Congratulations!! Fldigi is now configured. Our next step will be to configure the settings for MT63 2000L. There are many different modes that fldigi can be used for but this tutorial will only show MT63 2000L as that is what the Wayne Amateur Radio Club and Wayne County ARES primarily uses.